Overview
Do the following to configure a Flir Vue Pro with a
Pixhawk in a Tuffwing UAV Mapper.
Flir Vue Pro setup
- Install Flir UAS on your
Android or Iphone.
- Power your Flir Vue camera with a mini USB cable.
- Enable BlueTooth and start Flir UAS.
- Move the STILL slider to the left to select Single. Then select theSettings button (bottom right).
- Select the MAIN tab.
- Set IR Format to 14-bit TIFF Sequence.
- Set Still File Type to 14-bit TIFF.
Note: These images will appear black when you
view them. You must process them in an application like Pix4D to
view them.
- Select the ACCY. PORT tab.
- Set Channel 3: to RECORD START/STOP
Pixhawk settings
- Start
Mission Planner, connect to your Pixhawk, then select
INITIAL SETUP > Optional Hardware > Camera Gimbal.
- Configure your Pixhawk as shown. RC9 can be any open RC port in the list.
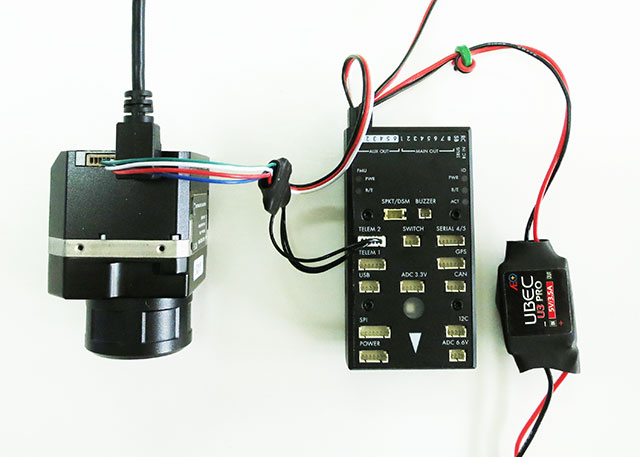
Connect your Flir Vue Pro to the Pixhawk
- Connect your Flir Accessory cable or
Tuffwing Flir
trigger cable as shown. Note: the Flir trigger cable does not provide power. You must power the Flir with a mini USB cable.
- The servo cable can go in any RC Out port you chose in the previous step.
- A special mini USB cable is also required to power the camera. You must provide 5 volt power to the
back of the Pixhawk. Flir Vue thermal cameras require 1.2
watts at 5 volts. This can be provided by your airplane's ESC or a BEC.
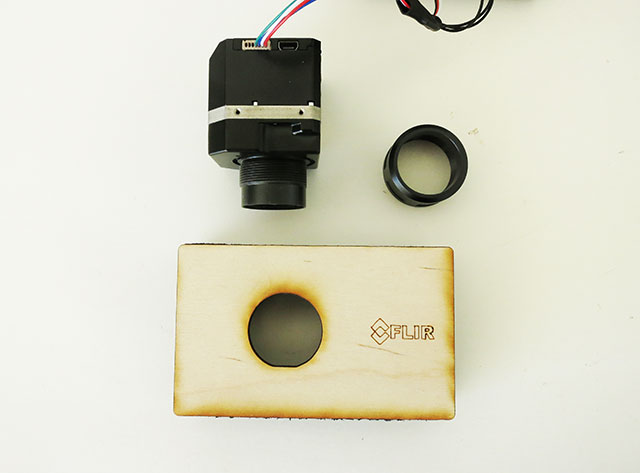
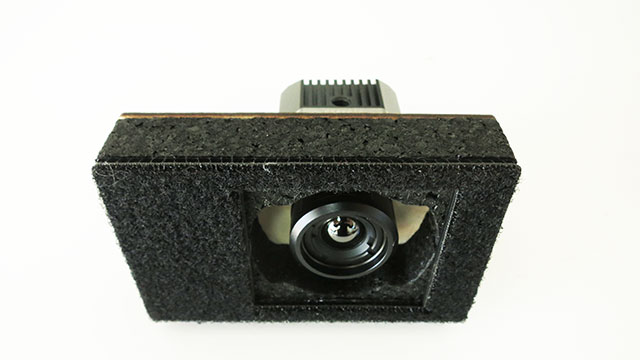
Install the camera mount
- Unscrew the lens ring from your Flir Vue.
- Insert your Flir Vue through the mount and screw the lens on.
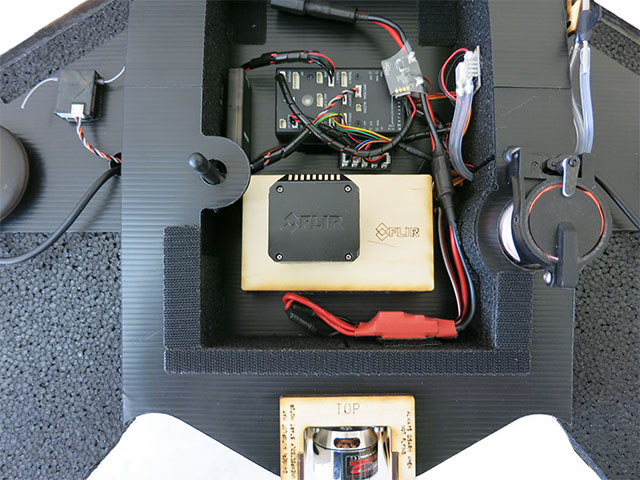
- Place the mount in your UAV Mapper.
- Right-click on the map and select Trigger Camera NOW. If everything is setup correctly your Pixhawk
will trigger the Canon camera to take a picture and is capable of triggering pictures using GPS distance.
|