Overview
Using your Pixhawk log and Pix4D is an accurate way
to georeference you UAV photos. Your Pixhawk log file includes camera
trigger messages at the sub second level that cannot be added at the
file level. Pix4D uses this sub second information to align your photos.
Additionally, Pix4D elegantly handles photos taken with no camera
trigger message or camera trigger messages with no
associated photo.
Requirements
Copy and covert your Pixhawk .bin file to a .log file
-
Create a New Folder on your PC for your project.
-
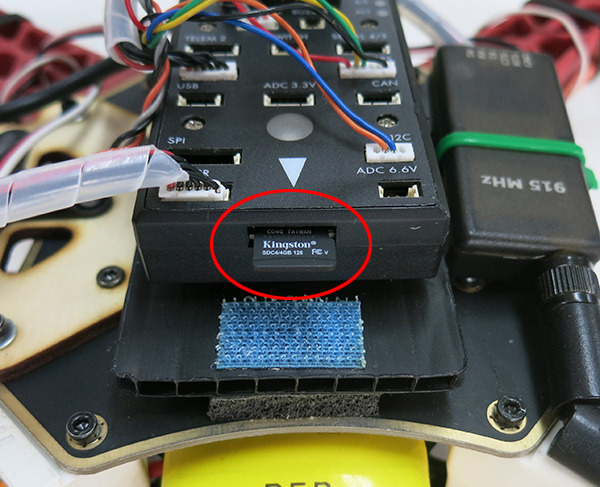
Remove your Pixhawk Micro SD Card insert it into your PC.
-
On your PC open Removable Disk > APM > LOGS > and copy the .bin file
that was created when you flew the photo mission. Paste the file
into your new project folder. A new .bin file is created each time
you power up your Pixhawk.
-
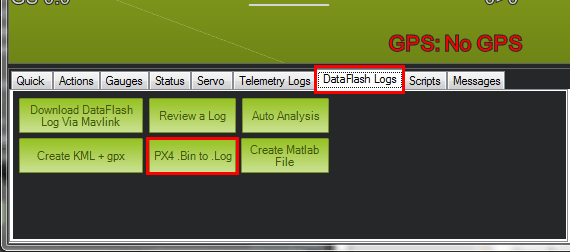
Open Mission Planner
and go to FLIGHT DATA screen > DataFlash Logs > PX4 .Bin to .Log.
Use this tool to open your .bin file and convert it into a .log
file.
-
Copy your photos from your camera's SD Card to your new project
folder
Georeference your photos in Pix4D
-
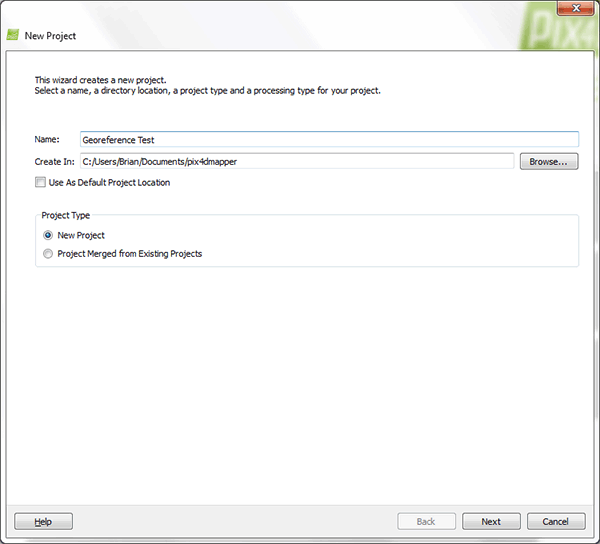
Open Pix4D and select New Project.
-
Name your project and select Next.
-
Select Add Images, navigate to your project folder
with the photos, and select the photos.
-
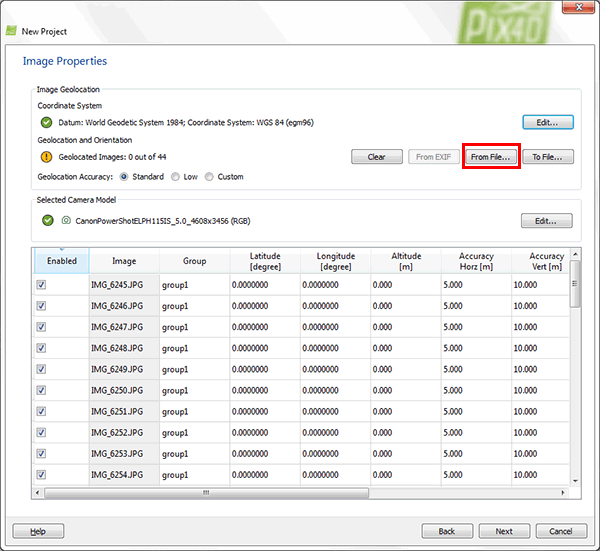
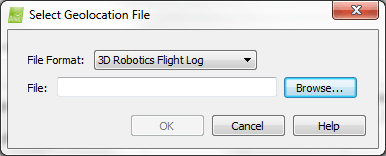
Under Geolocation and Orientation select
From File. This is where you will associate your .log file
to your photos.
-
Click the Browse button and select your .log file in your project folder.
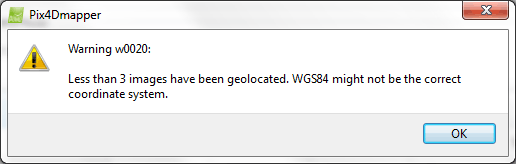
Note: If you get this error your Pixhawk is most likely not logging CAM messages. To correct, make sure
LOG_BITMASK is set to 655358.
-
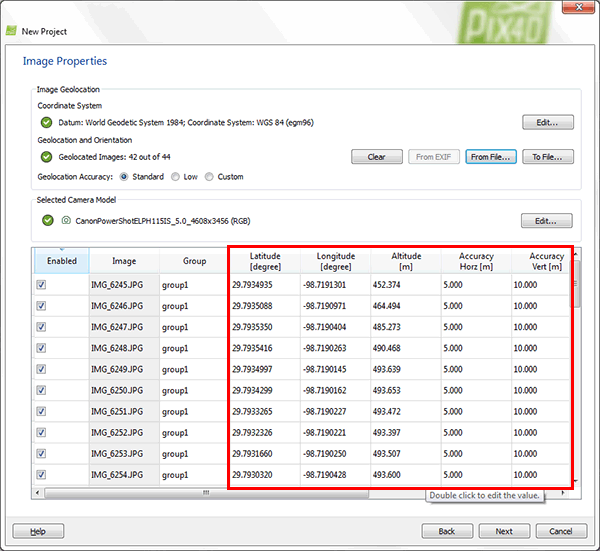
Pix4D automatically georeferences your images. Click Next.
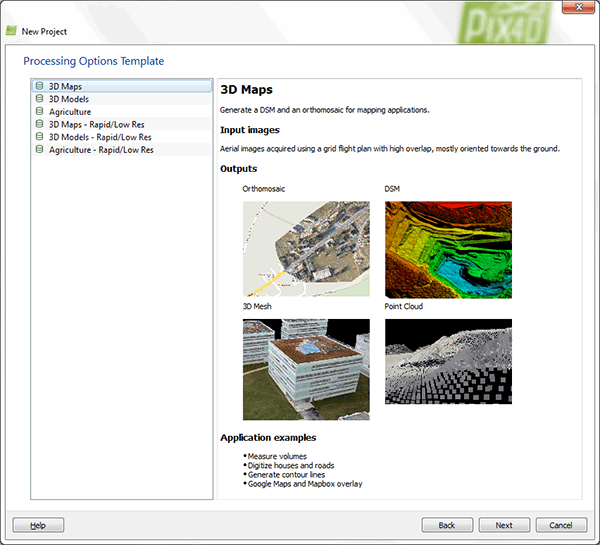
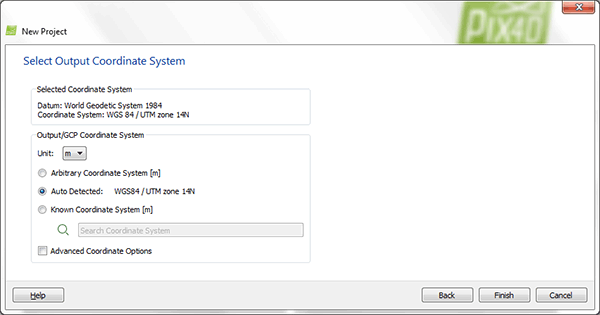
- Select the type of output you want.
-
Select Auto Detected and Finish. Your images are now georeferenced and can be processed by Pix4D.
|