|
Overview
Do the following to add a safety parachute to your
UAV Mapper. You can deploy the parachute at will using a switch on your
RC transmitter or as a waypoint in a mission. This makes it easy to land
your UAV in tight areas, on harsh surfaces, or to save
your UAV in the event of a failure.
Requirements
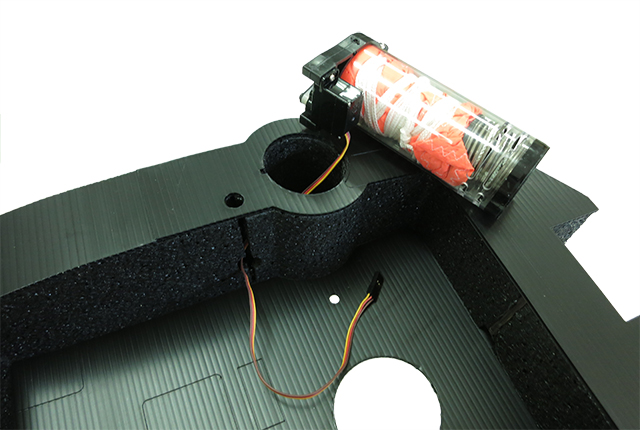
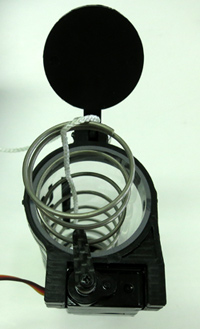
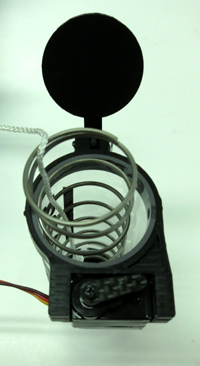
Install the parachute
- Feed the servo wire through the body.
-
Position the servo wire into the groove and push the parachute
to the bottom of the body.
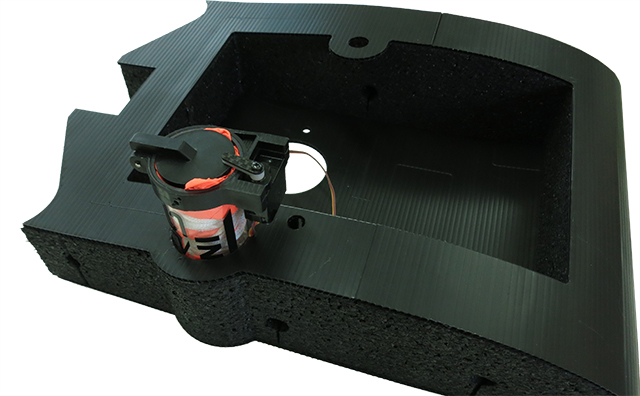
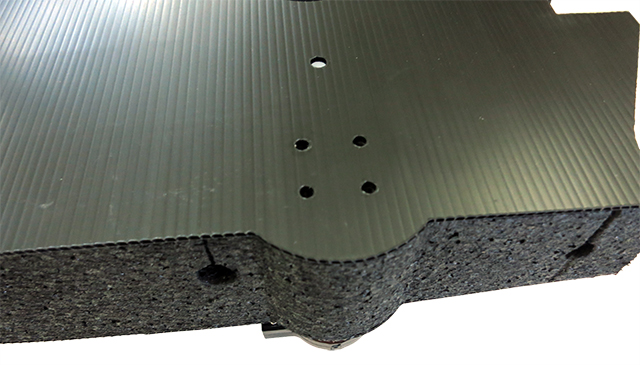
- Twist the parachute so its mounting holes align with the
holes on the bottom of the body.
 -
Install the mounting plate (Tuffwing) and screws (Included with
Mars parachute).
Configure your RC transmitter
- Use Mission Planner > INITIAL SETUP> Radio
Calibration to determine channel number for your RC
transmitter switches.
- Switch "Up" position must be above 1700 PWM, "down" must be below 1700
PWM. Switch up is open
parachute, switch down is close parachute. Use your RC Transmitter's
Servo End Point Adjustment and Servo
Reversing if
necessary.
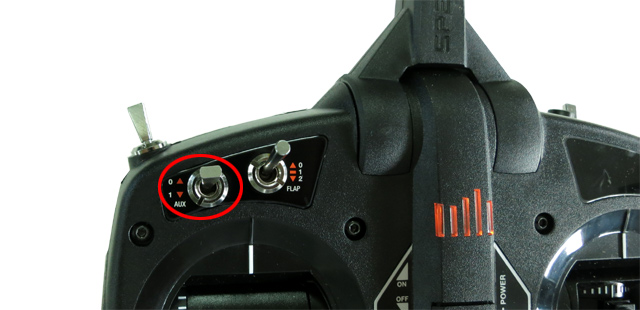
- The AUX switch on a DXe is channel 8. This works well for parachute deploy.
Configure your Pixhawk
Plug your parachute servo into any open RC
OUT 9 - 14 and set the following parameters:
CHUTE_ALT_MIN:0
CHUTE_CHAN:6 (Note:
can be on any available channel 5-8)
CHUTE_DELAY_MS:500
CHUTE_ENABLED:1
CHUTE_SERVO_OFF:1900
CHUTE_SERVO_ON:1100
CHUTE_TYPE:10
RC9_FUNCTION:27-Parachute. (Note - you can use any
open RC OUT 9-14).
Configure your parachute
You can only trigger the parachute once per boot
up. Do the following to configure your parachute.
- Set your RC transmitter parachute switch to its "down" position (PWM less than 1700).
- Power up your UAV and press the arm button.
- Parachute servo arm will move to its "closed" position. The
servo arm should be
pointing to the center of the parachute tube. Remove the servo arm
screw and adjust servo arm if necessary.
- Move your RC transmitter parachute switch to the "Up" position
(PWM more than 1700).
- Parachute servo arm will move to its "open" position. The servo
arm should be
pointing away from the parachute tube. After about 3 seconds the
servo arm will move back to its "closed" position.
Test deploy your parachute
Do each step in order.
- Power off your UAV.
- Return your RC transmitter parachute switch down to "closed".
- Fold your parachute, insert it into the tube, and push the
servo arm to the closed position.
- Power up your UAV.
- Arm your UAV.
- Move your RC transmitter switch up to "Open". Your parachute
should deploy. You must repeat this sequence each time you
deploy the parachute.
- Create a
mission.

- Select your last WAYPOINT and then click the Add Below
button.
- Change WAYPOINT to DO_PARACHUTE.
- Change Enable to 2. Your parachute will now
deploy immediately following the last waypoint.
|